Our Nest's Back Yard Garden Scale Railroad
<< Previous | Backyard | Fence | Trees | Shed | Patio | Railroad | HotTub | Next >>
For the longest time, I planned the new pike, drawing it out on the computer to see what would fit where. Before I could even think about doing anything with it we would have to rewire the house, repair the side porch, replace the rotted carriage doors on the carriage house and make the inside more than just dark and dirt with two strips of concrete embedded in it. This took over a year. The most immediate concerns were the electrical and the side porch. And until I converted the old carriage house into a garage to store my tools and saws, not much else could be done, unless it could happen on a chunk of plywood sitting on a couple of sawhorses. And that's how a good deal of the work happened until we got going. Little by little we did it. Nick dug most of the trench to the garage for the underground feed. He helped me lay down a wood floor in there, to cover the dirt and provide a stable platform to build from. We wired in outlets and lights.
Next came a window unit air conditioner, then replacing the window with a door to the back yard. I moved the air conditioner to the back window and added wall cabinets and benches so I would have more storage and workspace. Now I would actually be able to work in the garage. The first thing I did was fashion a new set of carriage doors, based on the old rotted ones. It took some doing, but I eventually got them done and hung them with pride, sporting their natural wood finish. After that, the back porch needed jacked up, and the side porch did too. But the side porch was badly rotted from exposure to the elements and needed attention before it just fell off the house. Much of its framing and flooring needed replaced. It looked as though rain came in through the screening, ran down beadboard and onto the floor to the low spot, then just sat inside on the floor. We decided to put some vinyl windows in place of the old screens to keep the elements out yet still allow a breeze in if desired. The outside was done by Christmas of 2015.
You can read about all of this in much more detail elsewhere on this site, I've only included enough here to demonstrate how it shaped the design and development of the "Rennovation & Restoration Rail Road" as we originally called it. Then, it was just an idea in my head, and almost on paper. I say almost on paper because had my design been printed out, it would have been eithertoo small to see details on a few sheets, and too many sheets to print it at scale. I had been reading about a number of different approaches to garden scale railroading. Most folks agree that you need to raise it off the ground. Some folks want it on the ground, and will go to all the effort to pour concrete "roadbeds" for their track. It seems the main culprit in keeping the track off the ground is frost heave. Considering we don't really get cold enough long enough for the ground to freeze, there is no frost heave here in Florida. No frost line to dig down beneath to secure the foundation of the trackwork to.
I used that reasoning for its first incarnation at our home in Wekiva, where I just laid it on the ground, after removing the sod and grading it level of course. I would be ballasting the track to keep it in place, because short of a washout of major proportion, needn't worry about more securely attaching it to the ground. This plan worked well and allowed me to introduce a water feature without needing any major bridgework, just some civil engineering for the embankments, and a water hose to find the "low ground". Once I found the natural runoff path, it was easy to replace the sandy bottom with backer board and colored mortar, a section at a time. It eventually streched from one end of the yard to the other. The ground level route was soon the water level route, complete with a passing siding. I was limited only by my imagination (and the amount of track I had).
It all started from a much smaller oval of track on the patio. This grew into a larger oval of track all around the pool with some sidings onto the patio. When that became too much of a nuisance, I modified it to run along the house from the patio out into the side yard. I put my "wye" switch to good use and constructed a "wye" track just outside the pool screen room to allow a train to turn around and go in any either direction. It took up a good part of the yard, but I was able to drive over it with the lawn tractor, and mow where the track wasn't. The only problem was all the weeds that would grow up through the track and the sand and dirt that got into everything, like the workings of the switches and cars and engines. Everything. Again, you can read about all of this elsewhere, but it is important to the discussion because I learned that track on the ground has its own pitfalls.
Back then, all I had was my radial arm saw, and it didn't like ripping boards. And without the proper hold downs, is downright dangerous! Unfortunately, the hold downs didn't work all that well, and I've since stripped a couple of the set screws, so they don't work at all anymore. I got it because my dad had one, so I was familiar with it, and it let me do a lot of woodworking over the years. But now it's just sitting in the garage over at the house in Wekiva, as useless now as it was then for ripping 2x4s into strips to build the splined roadbed stringers for a raised roadbed railroad. So I bought myself a present when I was rebuilding the carriage doors, a table saw, knowing there was no way I could do it with the radial arm saw. I learned how to use the table saw while ripping the fencing to build the new trestles and bridges, and didn't really need any special equipment or attachments to do so. I did need a miter gauge to do some of the more intricate work of building trestles and bridges. That was the pitfall of raising the track off the ground at the other house, I had no way of ripping the material for building the splined wooden roadbed.
Well now that's changed. I don't have to have it on the ground to meet up with some track just lying on the patio, and I have the means of ripping the material for the raised splined roadbed. I've already setup a couple of templates on plywood to help me assemble the splines into curved sections. Laying them out was a royal pain, but now that they're done, I can knock out an 8' section in about an hour or two (depending on whether I need to rip more splines or spacers). My initial layout design was a folded dogbone, where a 14' diameter loop stands twice as tall over the lower 20' diameter loop. They would both parallel one another to the far end of the yard, where they loop around to cross over one another at grade and become the other loop. At least, that was the plan. I got as far as getting the 14' and 20' loops laid out, assembling the splined roadbeds, and planting them in the ground on 1¼" PVC pipe risers.
That was about as far as I was able to get in early 2016. The rest was waiting on other projects, trying to figure out where the water feature would go, and the trestles and bridges to make it happen. But mainly other projects. The driving factor here is to do something about this backyard of nothing but dirt. There is plenty of shade from all the trees. Ann wants to lay sod down, but knows there is too much shade for grass to grow. Or anything for that matter. We tried to plant grass seed, but there's too much traffic and not enough sun to keep it growing. Ann decided the trees must come down! That finally happens just after the 4th of July in 2016.
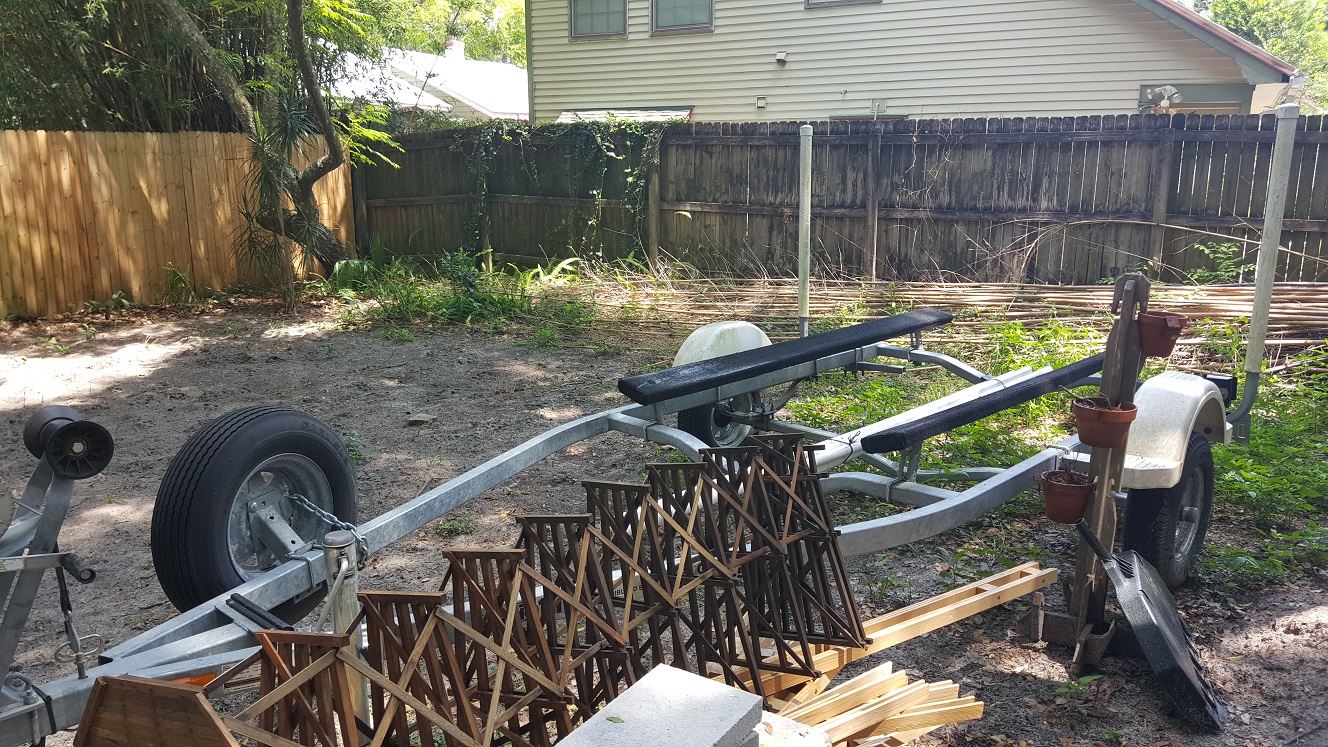
I haven't gotten to the best part yet... . I had to tear out everything I had already done on the railroad for the trees to come down. I had all the splined roadbed sections just sitting by the garage, along with all the trestle bents, still flimsily connected together, until the dogs destroyed them that is. Eventually I moved them over along the fence along with the concrete blocks I had used to stage the bridge, in anticipation of their installation once again. Shortly after the sod went in, I begin to reinstall the upper loop of track, now in its third incarnation.
<< Previous | Backyard | Fence | Trees | Shed | Patio | Railroad | HotTub | Next >>
(September 2016)
I was so disappointed by seeing all of this I just took the trestle back apart and store the bents for future use, when I have
a place for them to be installed so the dogs can't just trample them to trash again. I debated whether to put the PVC posts back
in before we laid the sod, but decided against it, waiting until afterward. I end up getting just the upper 14' diameter loop
installed and the bridge and the curve past it to bring the two line parallel with each other. That's as much as I get done when
I discover the boxes of track I had moved to the back of the garage are wet from rain getting in past the shiplap that needs
replaced. So now that's a priority. I didn't install this flooring and these benches just to have it all ruined by the elements,
especially when I already have the replacement boards to fix it with, just sitting over the rafters in the garage.
I come up with a plan of which boards to replace and run into a snag when I get to the corner trim by the fence. I end up having to go around the other side, climbing over Dave's trailer just to get there. Once I get the fence loose and the trim off, I notice the bottom piece along that side needs replaced too. Great. That will have to wait for now. With all the old boards removed, I can cut the new ones to size and start replacing the. I've already treated them with linseed oil and given them a coat of paint. All I need to do is treat the cuts with linseed oil and put them up. I use exterior screws rather than nails. Once they're up, I give them another coat of paint to cover the screws. Then I paint the trim and it goes back on too. Like it never happened. I do finally manage to get that other side done too and the carriage doors painted. With all this to keep me busy and starting the bathroom rennovation over Thanksgiving break, I don't end up extending the line around the shed for nearly another year.
But once I finally do... The dogs just bury it in dirt from digging or mounding it up over the track by plowing over it chasing the ball. Every time I want to run the train, first I have to get out the shovel. Gives new meaning to "cleaning the track". So I thought I'd be telling you I'd learned my lesson about keeping the track off the ground but instead I'm telling you of yet another pitfall of ground level track. Dogs. And their interaction with the ground surrounding the track. I may not have to worry about frost heave, but a hundred pound german shepherd can sure move some dirt, and heave the track with it! My original plan kept both the high and low lines off the ground to avoid this, but that plan got scrapped when we took out the trees and moved the shed behind the garage.
Add to that now we have a patio for ten foot off the garage and a raised bed nearly another three foot from there. My original plan called for a step, over the tracks by the garage, so folks wouldn't trip having to step over the tracks with the potential to trip over them. No room for anything like that now. On top of that I think either I miscalculated or the yard doesn't slope in the direction I thought it did, because where I thought the track would be on the ground, it's still nearly six inches above it. And one last goof, I'm out of track so I won't be able to go all the way around the shed and back up to complete the 20' diameter lower loop beneath the 14' diameter upper loop. So now it has to form a loop in front of the shed. Not directly in front of it, but close enough that lifting the lawnmower or garden cart over the tracks is a pain in the butt. Now what?
Push the track those last few inches into the ground and lower the remaining track to maintain no more than a 1% slope. That's roughly a half inch every four feet. Using a chunk of ½" x ½" scale 12x12 timber and the four foot level makes it a little easier, but now I have to run the entire length of the track and modify the height. In some cases it's as easy as just pushing the post a little further into the ground, sometime using the sledge hammer as "gentle" persuasion. Most times it takes unscrewing the stringers from the post, cutting it shorter, then reattaching the roadbed. It takes me a couple of days to get it all back to where it should be and I'm surprised that the 20" tall trestle bents on either end of the bridge are still just about the right height. Looks like where I originally had all the trouble with the engine slipping, thinking I overdid it with the dialectric grease when I put the track together, was really just too much of a climb.
Not only was it nearly a 4% grade, but it also included curves, increasing the apparent grade. No wonder it slipped! I'm happy to say it climbs that grade with no problem now. So as much as it seemed like a big deal at the time, and a lot of work to fix a mistake, it corrected an earlier mistake that was definitely affecting performance. I guess the moral of the story is you're never "done" with a layout, even in the garden. As things evolve and circumstances change, so must your layout. I started this in earnest once the bathroom was done around the July 2017 time frame. In two short months the railroad is again operational. Then along came the back porch distraction and the kitchen remodel. Nick came up with a neat way to control his Lionel trainsvia WiFi and his phone for Christmas. I want to adapt his design for use on the garden layout, but as of this writing near Memorial Day 2018, we're still waiting to have the countertops installed in the kitchen and I still need to finish the window, the trim, the toekicks, the baseboards, etc.
I am really hoping that once we're done with the kitchen, I can get back to the railroad in earnest again. I'm tired of being sidetracked by everything else that gets in the way. But there's light at the end of the tunnel, or at least there will be, once I figure out where the tunnel goes...
(August 2017)
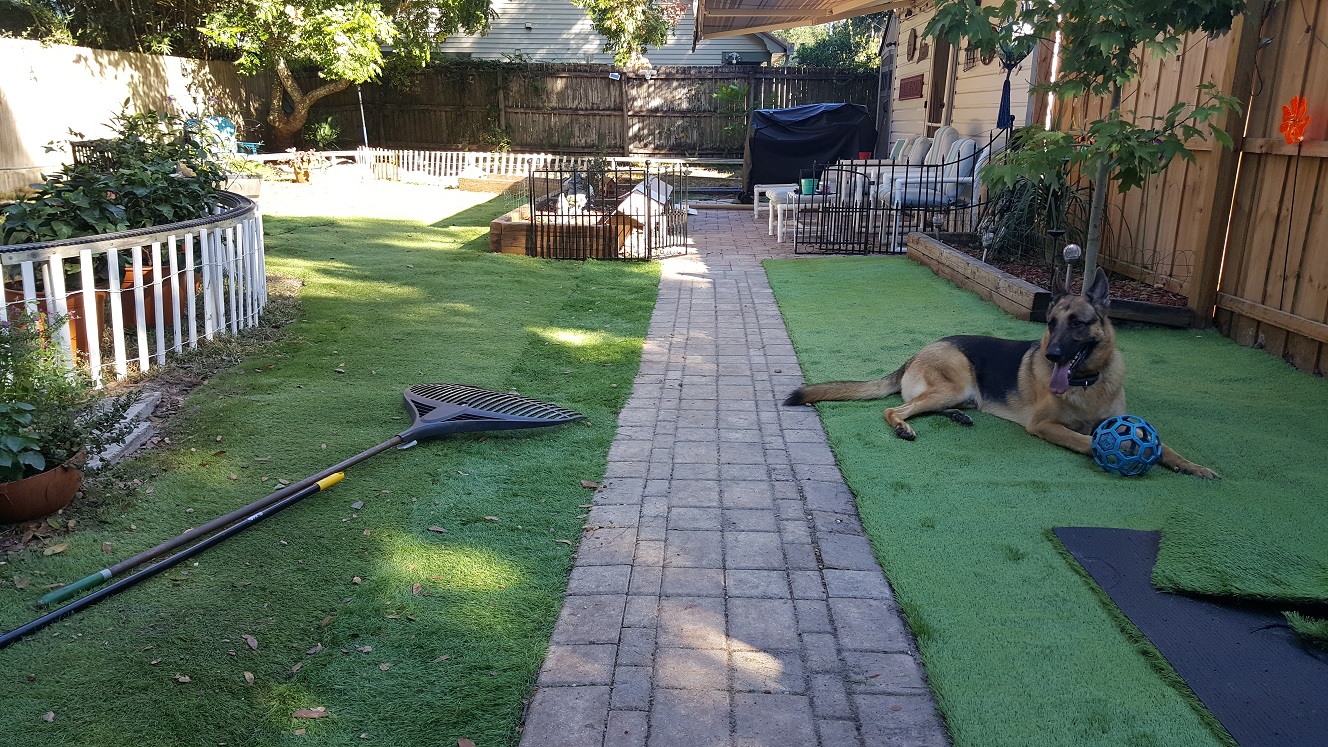
Well, now that the kitchen is pretty much finished, so is the sod we put in not even a year ago! The solution? Artificial turf...
So welcome to our putting green! All that's missing is the windmill, the bumpers, and the cup.
(July 2018)
Getting serious about the station siding... This is really starting to turn into an actual garden railroad, and not just a
large dogbone shaped loop of track. Well, it really is just a large dogbone shaped loop of track, but the more we do and the more
we add to it, the more it will become an actual railroad with a purpose. I fiddle with the fitting and arrangement of the track over
the course of the month, arriving upon the final arrangement just before the end of the month. It will take a bit longer for the
final installation though...
(September 2018)
Final installation takes breaking out the 10' diameter curved and tangent stringer templates and building several new stringer
sections, one curved and a couple of straight sections short and long. The short section allows me to actually cut the turnout
into the mainline portion of the lower loop. The another turnout selects between the station siding and the "car barn" siding.
The curved section connects to the station siding and the long straight section heads to the now dilapitated car barn. But I'll
get to that soon enough... For now, I have a means of diverting the rail traffic from the mainline to the new sidings!
(October 2018)
Now that we are able to operate the railroad on a fairly regular basis, and the weather is getting much better for outdoor living,
we're spending more time out on the patio running the trains. But I'm not satisified with just running the trains around the loop
over and over again, I want to have a station stop, and a reason for stopping there... Namely a station! I start with a dainty,
sticks and stuff approach, trying to achieve a museum quality representation of a train station, spending weeks drawing it out in
excrutiating detail. My concern is how to speed construction of all this detail, literally hundreds of rafters sitting on
dozens of beams and support posts. Yeah. I didn't even get the first 8 beam supports and beams assembled and mounted before
the entire assembly was reduced to a pile of broken scale lumber.
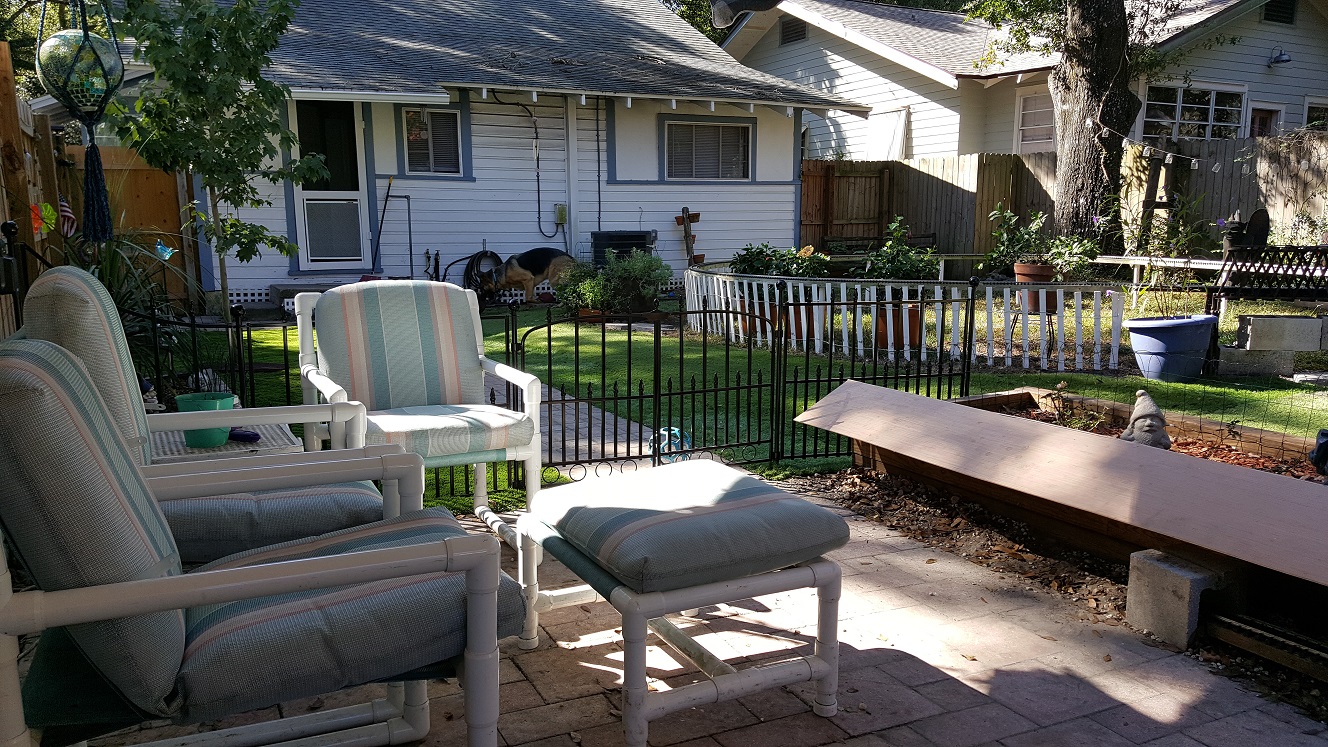
The design went through a number of iterations, the first of which was to strengthen the underpinnings against constant bombardment from the dogs. Using ¾" plywood as a base and 1x4s as the "rafters" to support the ¼" plywood roofing material, the station now has a roof! And 16 feet long to boot... The entire length of the raised bed planter is now the station platform. Well, the station platform roof that is. The station platform is a number of half concrete blocks placed between the planter and the siding, levelled and set at just the right height. I even installed one of those remote controled LED light strips under the plywood base to light the platform at night. But I'm getting ahead of myself.


 January 2016


 June 2016

 September 2016


 September 2017


 September 2017


 October 2018

 October 2018
<< Previous | Backyard | Fence | Trees | Shed | Patio | Railroad | HotTub | Next >>